
How cone sleeve printing works
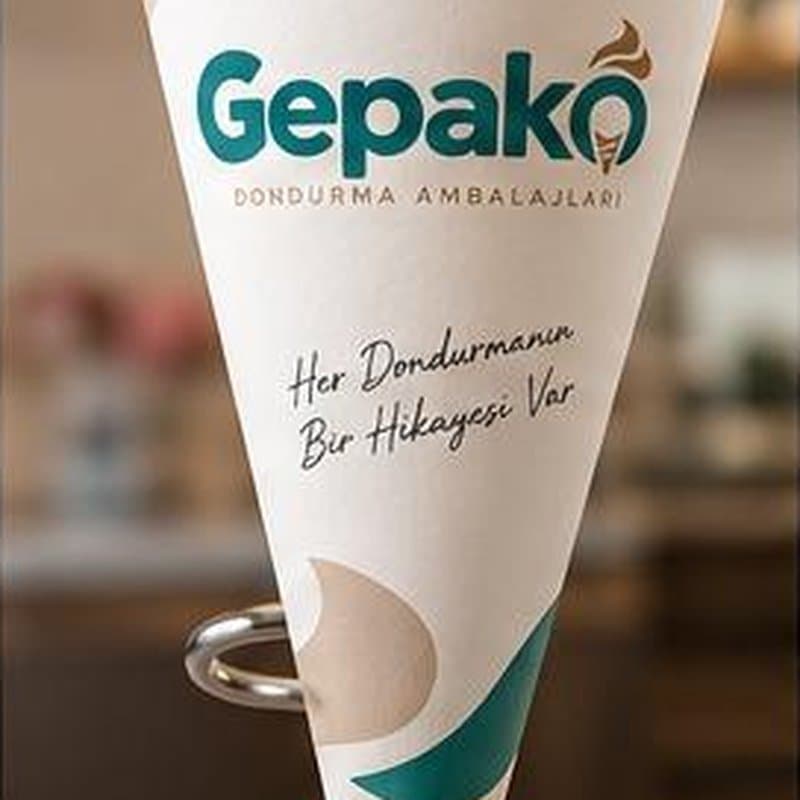
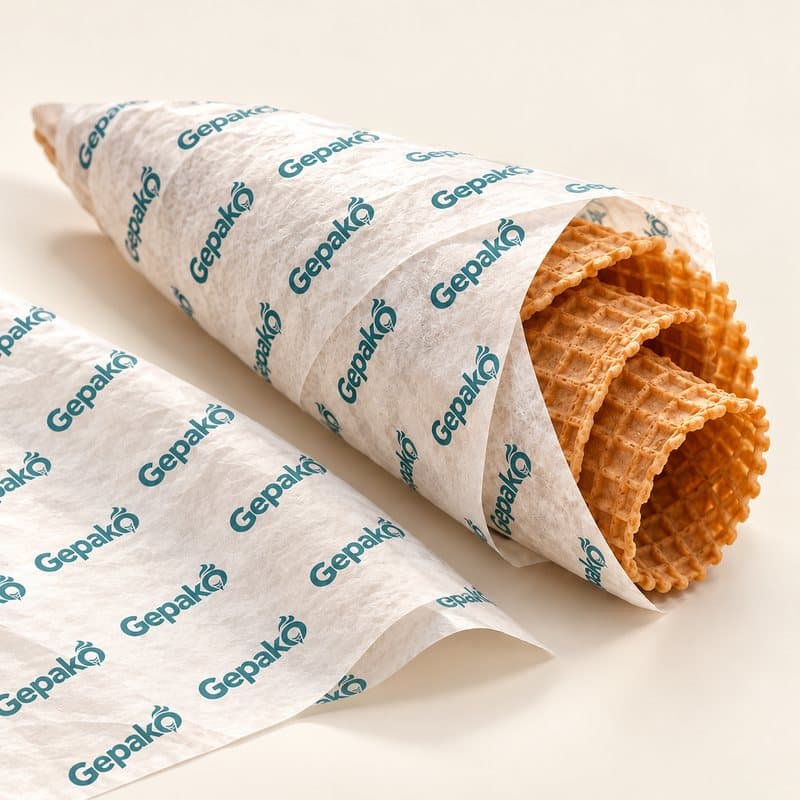
A cone sleeve is the printed paper wrap around an ice cream cone; it is not the cone itself, but the surface that puts your brand in the customer's hand. It looks like a flat piece of paper, yet once wrapped it becomes a cone, so the print design follows different rules from a flat label. This guide walks through the flat layout, the safe area, the bleed and where the logo goes.
Updated:
What is the die (flat layout)?
In production the cone sleeve is laid out flat as a truncated cone: a cone with a given top diameter, bottom diameter and height, spread onto a plane, becomes a fan-shaped piece. The outline of that piece is called the die or flat layout; the paper is cut along it, glued at the edges and wrapped around the cone.
The size of the layout depends on the height and mouth diameter of the cone. Gepako uses separate layouts for standard and large cones, and the design is placed on that layout. Even if you send your artwork as a plain rectangle, the file that goes to press is adapted to this fan shape.
Safe area and the 3 mm bleed
During cutting the paper can always shift by a hair. That is why two lines are considered together: the safe area and the bleed. The safe area is the zone inside the cut line where text, logo and other important elements must stay. The bleed extends the background colour or pattern 3 mm beyond the cut line, so a slight shift in cutting never leaves a white edge.
Gepako's proof draft shows the cut line, the safe area and the 3 mm bleed line together. A cone layout also has a glue strip: one edge of the sleeve sticks under the other, so nothing important is placed on that strip. If you have no designer, just send your logo and our team does the placement.
Logo placement: text that reads straight once wrapped
Text placed as a straight line on a truncated-cone layout looks curved once the sleeve is wrapped around the cone. The reverse is also true: text set along the arc, in a circular path on the layout, reads straight on the cone. Gepako's automatic proof draft places the logo in the middle of the safe area with this polar logic; the small, medium and large size options are calculated from the proportions of the safe area.
We make sure the logo does not sit too close to the mouth edge, does not run into the glue seam and does not become unreadable in the narrowing tip. That is why the main logo usually sits in the wide upper part of the sleeve, while the narrow lower part carries the background colour or a fine pattern.
Colour and paper
A cone sleeve touches food; Gepako uses food-safe raw materials and prints in its own facility. Colour consistency is under our control: if your brand has colour codes, they are noted on the proof and the printed job is checked against that reference. Writing the background and text colours alongside your logo speeds things up.
Proof, approval and after
Once the design is ready you receive an order tracking link. On that page you see the proof and either approve it or request changes; production starts with your approval. Before printing you can also try your cone in 3D on the See Your Logo page: upload your logo and the cone sleeve instantly appears with your brand.
Most ice cream makers order the cone sleeve together with cone boxes and wrapping paper; the placement of all of them is approved in one proof round. Quantities and minimum order are kept up to date on the product page; for a price, simply fill in the Quick Quote form.
Request a quote
List the products and approximate quantities; our sales team replies with a carton-based price.
Get a Quick Quote